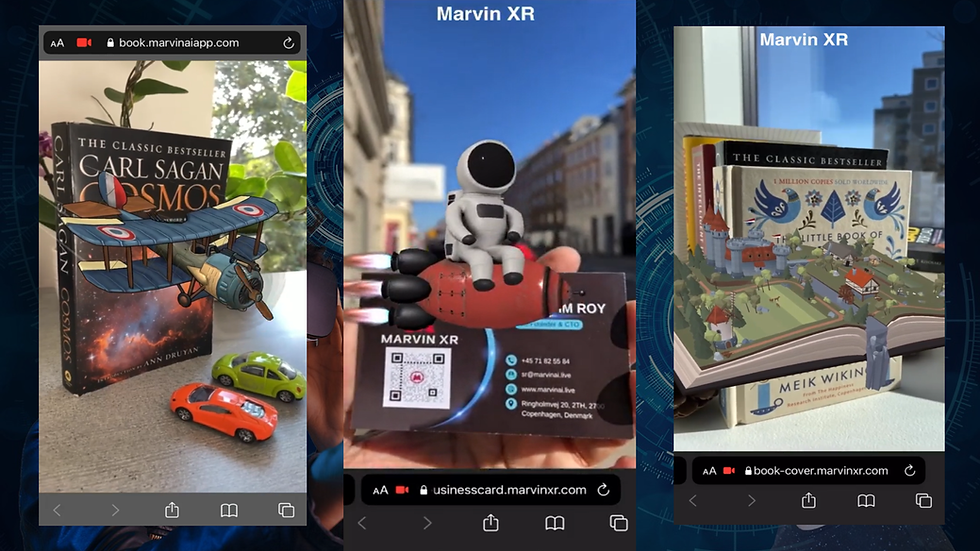
How do you measure the success KPI for ad campaigns printed in magazines, billboards or leaflets? Well, unfortunately there is no answer for that until now.
How do you engage users into your product packaging? For example, from seeing your product on the supermarket shelf to buy them?
Image based WebAR can solve your problem once and for all. Users can simply open the link in web browser, focus to your product image and see the amazing AR experience immediately.
Let us go through a step by step process to create our first Image based WebAR campaign today within Marvin XR studio.
If you haven't signed up to Marvin XR studio, do it here.
Once logged in, click on the Create AR Campaign button:

Now you need to give a name to the AR campaign and select the option Image-based AR

Now make your target image ready. We need to create a camera identifiable format for it so that whenever users opens the campaign and focus it to various images, it'll always find your target image and display AR on top of it.
If you do not have a target image, you can skip all the below steps and click on create AR campaign button. Your Image based AR campaign will be created with default target image and 3D model.
Drag your target image (.PNG format) to the dropbox and click on Start button to create the camera identifiable format (targets.mind). Based on the size and complexity of the image, it can take from few seconds to minutes to complete the step.
Click Download to download the targets.mind file. Do not change the name of the file.
Next step: now upload the target image (.PNG), camera identifiable format (targets.mind) and 3D model (.GLB format) to the campaign. If you don't have a 3D model, no worries - there's default 3D model in the template (you can change it at anytime later).

Now finally click on Create AR Campaign button. That's it! Congratulations!!!
Publishing your new WebAR campaign can take around 3-5 minutes.
Once users start using it, you can see the LIVE updates in Dashboard and insight menus.
Some Quick Tips:
Now lets access the Image-based AR campaign and see how we can upload a new 3D model.
You can find the new Image-based AR in the dashboard now. Click on it.
This will open the campaign and land you in the AR show menu. You can scan the QR code from your mobile or click on the link to open the WebAR.
Now target your mobile camera to the target image on the right and see the aeroplane flying around - you have successfully created the Web AR campaign.
Note - We also provide web URL whitelisting option (contact us). That means you can use your choice of domain URL instead of default URL instead.

Let's put a new 3D model into the campaign. If you do not have one, now worries.
You can visit biggest 3D marketplace - Sketchfab
Download thousands of high quality free 3D models or buy models of your choice.

Change 3D Model:
Download the 3D models in GLTF model from Sketchfab. But how can you convert them into GLB format? We have made it super easy.
Unzip the GLTF model, select everything inside and drag them to the GLB Export section.
Your 3D will be converted to GLB format and get downloaded almost immediately.

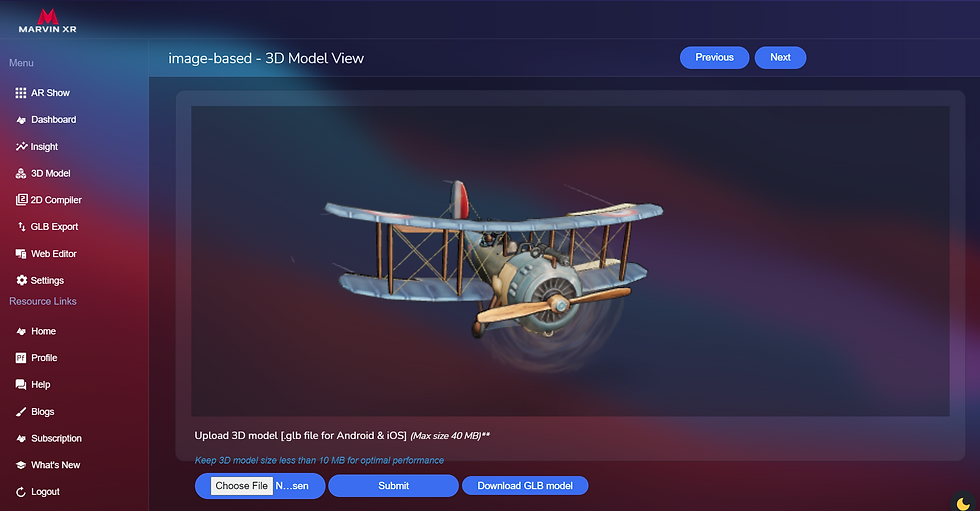
Now go to the 3D Model menu and upload your favorite 3D GLB model. Simple - isn't it?

Change Target Image:
Click on the AR campaign and go to 2D Compiler menu.
Drag your new target image in the white box and click Start to get the targets.mind file created.
Now upload both the original target image (.PNG) and the target file in the right side.
You can see it gets reflected when you click on the AR show menu again. Your users can now target to the new image and see the AR appearing.

Update Published WebAR View:
Do you want to change the WebAR campaign page view and update it with your own theme, color, logo or desired buttons? No problem, we have covered it too.
Click on the Image-based AR campaign again and go to Web Editor menu.
Click on Edit button and put your desired change in there.
Not sure how to update HTML tags - drop a mail to us at support@marvinai.live.
We'll help you to get things done to lauch your dream campaign.
We can help you add image or video gallery in the AR experience too in the AR experience. You need custom buttons to be added there - we got your back too. Contact us.

Conclusion:
We hope you'll enjoy the world of creativity with WebAR campaigns. The DIY platform will help you to achieve your dream AR campaigns. Experience the new way of extraordinary AR user experience without using apps. For any queries, please feel free to contact us anytime. Our professional team will help you to achieve your goal.

댓글